Posts
Posts


Today's subject for reusing or repurposing is the old tea cup. I just luuuuv old tea cups! I have several stashed away in California that I didn't bring with me because of their delicate nature. I love using them for drinking out of, but after a few too many fixed cracks, there comes a time when some must be retired. So what about these ideas?
At thepeartree, you can find a "how to" for making this lovely candle in a tea cup. A few of these on your table would make the perfect setting for a girlie get-together!

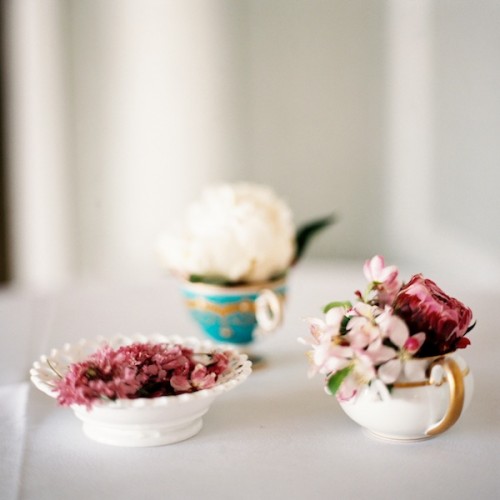
Alternately, you could put sweet little plants in your tea cups, like they show at Elizabethannedesigns. And if your tea cups and saucers are abundant, and no longer that usable, you could tackle a really cool project like a mosaic backsplash in your kitchen! HGTV shows you how, here. I wanted to have my own examples for you, but strangely, the people in this town don't give up their teacups easily! I've been to a few second-hand stores, and haven't found many cool tea cups. I prefer the older, delicate and sweet tea cups, which remind me of a gentler age.
Another cool idea is to turn the cup into a nightlight. On Etsy, Micah7 has some lovely ones!
Another lovely lighting idea found on SevenEight is this tea cup chandelier. You know how I love interesting lighting? Well this is really cool...
However you choose to use your tea cups, old or new, don't they just remind you of simpler times? An age when people actually visited each other just to have tea together... when the lady of the house would get out her fine china, brew some delicious tea, make a few pastries or run out to the bakery for some, and set some flowers on the table, just for a visit with her friends. Very gracious and very welcoming. I love the sentiment that our friends are worth the time and effort. I don't think that we should let that go in these more modern and fast-paced times, do you?
What kinds of things do you do for your friends when they visit?
 |
| Image from thepeartree |
 |
| Image from HGTV |
Another cool idea is to turn the cup into a nightlight. On Etsy, Micah7 has some lovely ones!
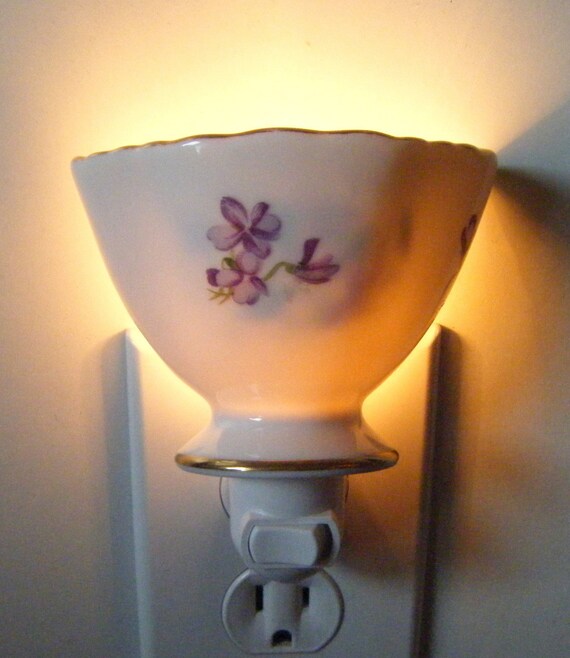 |
| You can find this violet light in Micah7's shop |
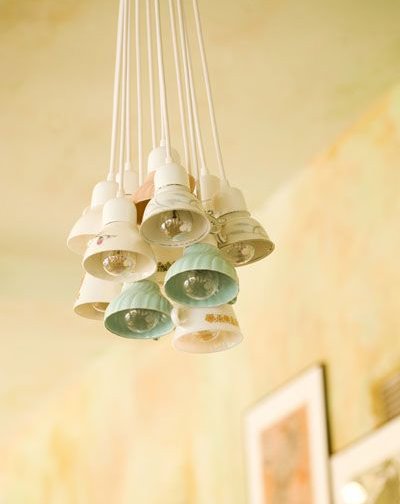 |
| Made by Domestic Construction |
However you choose to use your tea cups, old or new, don't they just remind you of simpler times? An age when people actually visited each other just to have tea together... when the lady of the house would get out her fine china, brew some delicious tea, make a few pastries or run out to the bakery for some, and set some flowers on the table, just for a visit with her friends. Very gracious and very welcoming. I love the sentiment that our friends are worth the time and effort. I don't think that we should let that go in these more modern and fast-paced times, do you?
What kinds of things do you do for your friends when they visit?